
Description
Download Sharpshooter – Screenshot Renamer, Organizer & Automation Tool
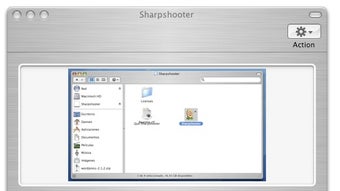
Overview of Sharpshooter
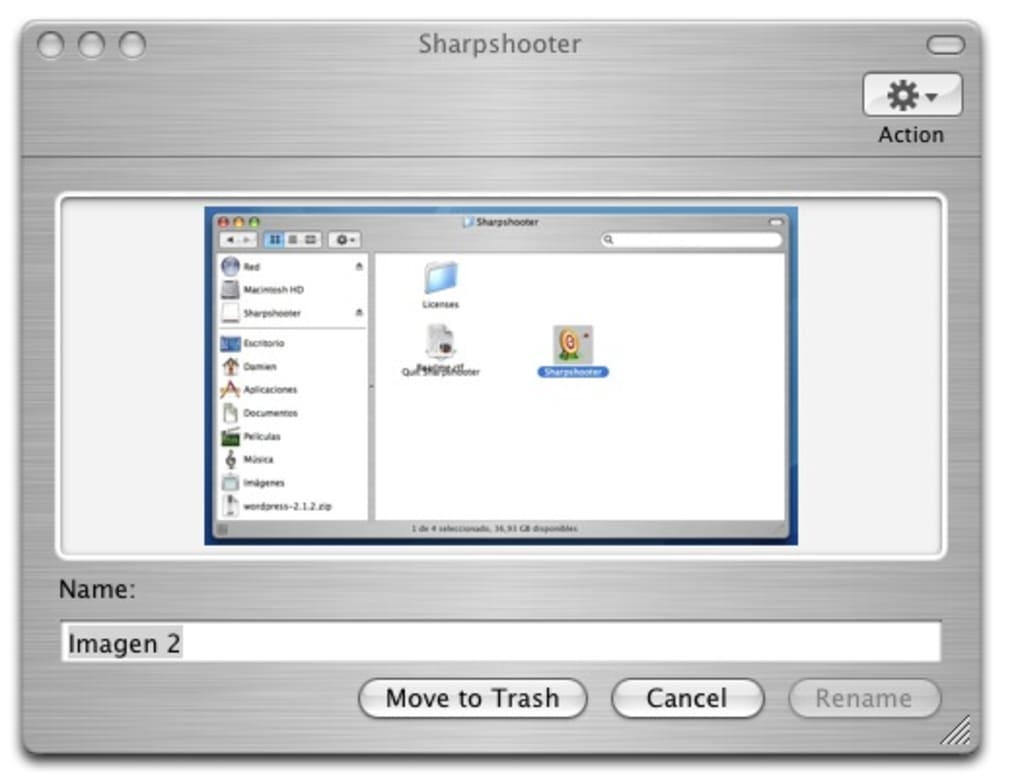
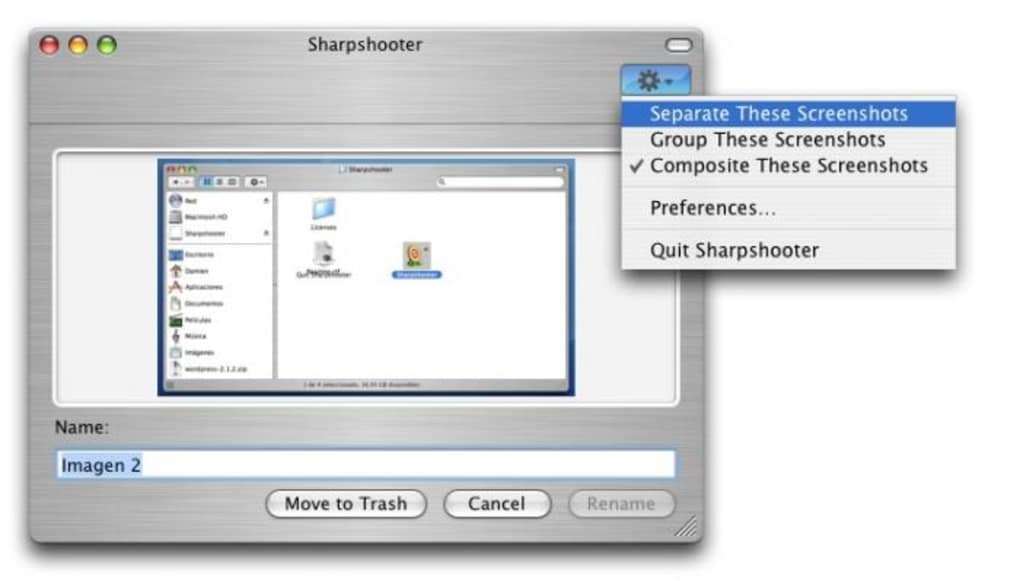
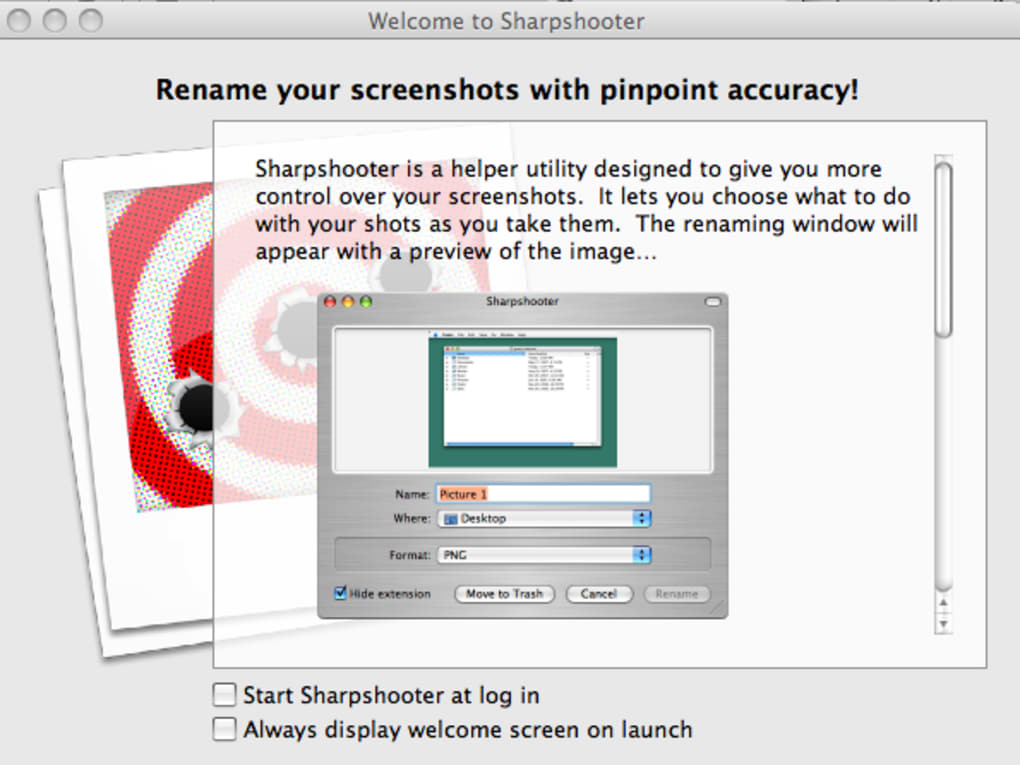
In today’s fast‑paced digital environment, screenshots have become a core part of daily workflows. Whether you are a designer, developer, tester, or content creator, you probably end up with dozens—if not hundreds—of unnamed PNGs scattered across your desktop. Sharpshooter is a lightweight utility that steps in after the screenshot is taken, offering instant control over naming, storage location, format, and even batch processing. It is **not** a screen‑capture engine itself; instead, it works hand‑in‑hand with any third‑party capture tool such as the native Windows Snipping Tool, macOS Grab, or popular apps like Snagit and Monosnap. Once a screenshot lands in the default folder, Sharpshooter immediately presents a renaming window where you can type a descriptive title, pick a destination folder, change the file type, or discard the image altogether. For power users who routinely document bugs, create tutorials, or archive visual references, this extra step eliminates the dreaded “screenshot‑001.png” chaos and boosts productivity by keeping visual assets organized from the very first click. While the interface is intentionally simple, Sharpshooter does provide a handful of advanced options, such as compositing multiple shots into a single image and applying batch modifications. The learning curve is modest, though initial setup can be a bit verbose, especially for those unfamiliar with customizing default screenshot paths. Overall, Sharpshooter shines for heavy screenshot users who need a reliable, secure, and free way to keep their image library tidy.
Key Features and System Compatibility
Feature Highlights
- Automatic pop‑up renaming window triggered after each screenshot.
- Customizable destination folders for organized storage.
- Support for multiple output formats (PNG, JPG, BMP, GIF).
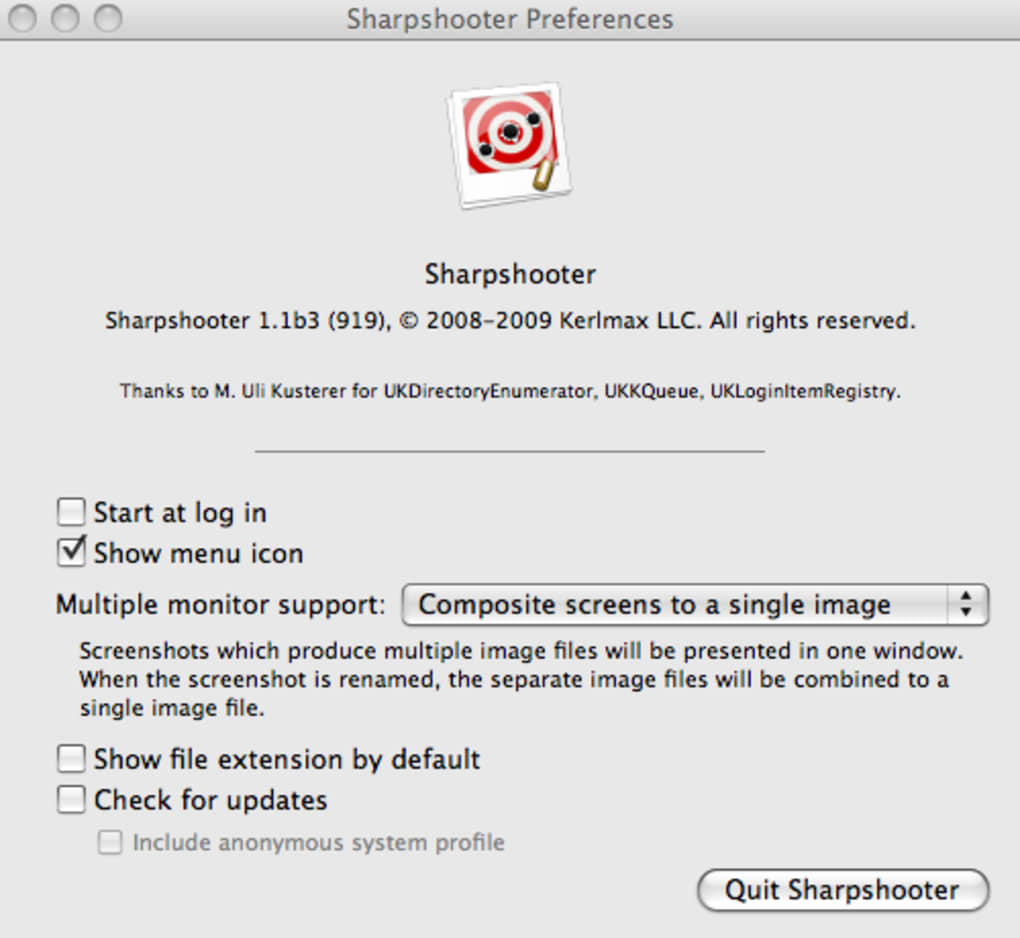
- Batch compositing – merge several screenshots into one canvas.
- Print directly from the renaming dialog or discard unwanted images.
- Minimalistic UI with optional group editing for bulk actions.
- Free version with no hidden fees; optional paid upgrade for advanced automation.
Operating System Support
Sharpshooter runs natively on Windows 10, Windows 11, and offers a compatible macOS version for Catalina (10.15) and later. While there is no official Android or iOS client, the tool works seamlessly with mobile screenshot sync services (e.g., iCloud, OneDrive) when those folders are mapped to a desktop environment. System requirements are modest: 2 GB RAM, 50 MB of disk space, and .NET Framework 4.7 or higher on Windows. macOS users need the latest version of the Apple Silicon‑compatible runtime. The lightweight design ensures the app launches instantly, even on older hardware, making it a practical addition for both personal laptops and enterprise workstations.
Installation, Configuration, and Everyday Use
Step‑by‑Step Installation
- Visit the official Sharpshooter download page and click the Download button for your OS.
- Run the installer (Sharpshooter‑Setup.exe for Windows or Sharpshooter‑Installer.dmg for macOS).
- Accept the license agreement and choose the default installation folder (recommended: C:\Program Files\Sharpshooter).
- Complete the wizard; the app will automatically add a startup entry so it runs in the background after each reboot.
- Launch Sharpshooter; a brief tutorial window appears guiding you through basic preferences.
Configuring with Your Preferred Capture Tool
Because Sharpshooter does not capture screens itself, you must point your favorite screenshot utility to the folder that Sharpshooter monitors. For Windows users, open the Snipping Tool → Settings → Save screenshots to → select C:\Users\YourUser\Pictures\Screenshots. For macOS, go to System Preferences → Keyboard → Shortcuts → Screenshots and set the folder path accordingly. Once the folder is synchronized, Sharpshooter will detect new files and instantly display its renaming dialog.
Typical Workflow
1. Press your chosen shortcut (e.g., Win+Shift+S or Cmd+Shift+4) to capture the screen.
2. The screenshot is saved to the monitored folder.
3. Sharpshooter pops up, showing a preview and a text field for the new name.
4. Enter a descriptive title (e.g., “LoginError_2025‑10‑25_09‑30‑AM”), select a target sub‑folder, and optionally change the format from PNG to JPG for smaller size.
5. Click Save to finalize, or Discard if the capture is irrelevant.
6. For batch operations, select multiple entries in the list view, then choose “Composite” to merge them into a single image.
The entire process takes less than two seconds, meaning you never lose momentum while troubleshooting or drafting documentation. Sharpshooter also remembers your last used folder and file type, further speeding up repetitive tasks.
Pros, Cons, and Frequently Asked Questions
Pros & Cons
- Pros:
- Instant renaming saves time and reduces clutter.
- Free core version with no ads.
- Supports multiple image formats and batch compositing.
- Lightweight footprint; works on low‑end PCs.
- Integrates smoothly with any screenshot capture tool.
- Cons:
- Initial setup can be confusing for non‑technical users.
- Lacks a built‑in capture function; relies on external tools.
- No mobile app for on‑the‑go screenshot management.
- Advanced automation (e.g., auto‑naming rules) requires the paid upgrade.
- Limited customization of the renaming dialog UI.
FAQ – Quick Answers to Common Queries
Is Sharpshooter completely free?
The core version is free for personal and commercial use. A premium license is available for users who need automated naming rules and deeper integration with enterprise workflows.
Can I use Sharpshooter with cloud‑based screenshot folders?
Yes. As long as the cloud folder syncs to a local directory (e.g., OneDrive, Dropbox), Sharpshooter will monitor that path and process new images instantly.
Does Sharpshooter support bulk renaming after screenshots are saved?
Absolutely. In the list view you can select multiple files, right‑click, and choose “Batch Rename” or “Composite” to apply changes to all selected items at once.
Is there a way to automatically add timestamps to file names?
The free version requires you to type timestamps manually, but the premium upgrade includes a rule engine that can auto‑append date and time stamps based on your preferences.
How secure is my data when using Sharpshooter?
Sharpshooter runs locally without sending any files to the internet. All renaming and moving actions happen on your machine, ensuring that sensitive screenshots remain private.
Conclusion – Should You Download Sharpshooter?
If you find yourself drowning in a sea of generically named screenshots, Sharpshooter offers a simple yet powerful solution to bring order to your visual assets. Its instant renaming dialog, flexible folder targeting, and support for multiple image formats make it a valuable companion for developers, QA testers, designers, and anyone who relies heavily on screen captures. While the initial configuration may require a few extra minutes, the long‑term time savings far outweigh this setup cost. For occasional users, the free version delivers all the essentials without any hidden fees. Power users seeking automated naming schemes and deeper workflow integration can upgrade to the paid tier for added convenience.
Ready to streamline your screenshot management? Download Sharpshooter now and start organizing your captures the smart way. Experience a clutter‑free desktop and focus on what truly matters—creating, testing, and sharing your work.
Overall Rating: 4 out of 5 stars
Guides & Tutorials for Sharpshooter
How to install Sharpshooter
- Click the Preview / Download button above.
- Once redirected, accept the terms and click Install.
- Wait for the Sharpshooter download to finish on your device.
How to use Sharpshooter
This software is primarily used for its core features described above. Open the app after installation to explore its capabilities.
User Reviews for Sharpshooter 0
No reviews found